


Ingredients
-
Dry ingredients:
-
230 g Whole-grain gluten-free flour blend
-
100 g Tapioca starch
-
25 g Psyllium husk powder
-
Wet ingredients:
-
300 g GF sourdough starter
-
315 ml Waterслегка теплая
-
2 Egg(s)M
-
10 g Salt
-
10 g Brown sugar
Directions

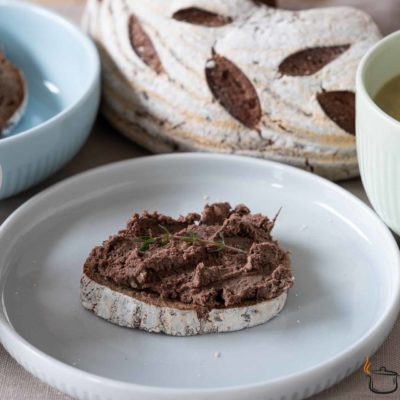
If you’re going to go through the effort of cultivating a natural gluten-free sourdough starter, let it be for real bread. This is a foundational recipe for whole grain gluten-free, dairy-free sourdough bread. As you can see in the photo, the loaf has a perfect texture with fine air pockets and a crisp crust. But most importantly, this is a truly nourishing, slow-fermented product — rich in vitamins, fiber, and deep flavor.
By blending various types of whole gluten-free flours, we not only boost the nutritional value but also develop a complex, satisfying taste. This bread is low in starch and has a pleasantly dense, elastic crumb. It stays fresh for several days without needing to be toasted.
In other words, if you’re serious about gluten-free eating — and still want to enjoy good bread — this recipe is a must-have in your collection.
Enjoy!
I prepare in advance a blend of different whole-grain flours that I use both to feed my starter and to bake bread.
Blend proportions: 50 % buckwheat flour, 30 % sorghum flour, and 20 % assorted whole-grain flours (depending on what I have on hand): teff, whole-millet, amaranth, whole-grain rice, quinoa.
Feel free to combine the flours in any ratio you like, though it’s best to keep buckwheat at about 50 % of the mix for optimal bread texture.
Today's visits: 0.
Steps
|
1
Done
|
Dissolve the salt and sugar in the water. Beat the egg with a fork until smooth, then add it to the water. Add the sourdough starter as well and stir until the mixture is uniform. |
|
2
Done
|
Generously dust a banneton (proofing basket) with tapioca starch. If you do not own the banneton yet, line any bowl of similar size and shape with a kitchen towel and dust it well with tapioca starch. |
|
3
Done
|
Lightly flour the work surface or rolling mat with tapioca starch. Turn out the dough, knead a few times, and form a ball. Place the ball seam-side up in the prepared bannetone/bowl. Dust the top lightly with tapioca starch, cover with a towel, and let it rise. |
|
4
Done
|
About 30 minutes before the end of proofing, preheat the oven to 280 °C (conventional heat). Place a cast-iron Dutch oven with its lid inside to heat up. |
|
5
Done
|
Cut a strip of parchment about 30x15 cm wide. Gently turn the dough out of the bannetone onto the parchment paper. Using a sharp knife or lame, make decorative shallow cuts (~2 mm in deep). Carefully lower the dough, still on the parchment, into the heated Dutch oven, cover with the lid, and place in the oven. Immediately reduce the temperature to 250 °C and bake for 50 minutes covered. |
|
6
Done
|
Remove the Dutch oven from the oven and let the bread cool inside it, uncovered, for 15 minutes. Transfer the loaf to a wire rack and let it cool completely before slicing. |
|
7
Done
|
Store the loaf cut-side down on a board at room temperature. It stays fresh for up to 48 hours and then makes excellent toast for several more days. For longer keeping (up to one month) slice and freeze. |