


Ingredients
-
250 g of Buckwheat flour
-
500 ml of Water
-
10 g of Salt
-
10 g of Honey
-
for frying Ghee
Directions

I’ve just returned from an incredible trip along the coasts of Brittany and Normandy and am still captivated, especially by the Breton buckwheat crêpes and the lively crêpe culture in the region.
Crêperies are unique establishments that specialize in serving buckwheat crêpes (Galette de Sarrasin) filled with a variety of hearty fillings and wheat crêpes with toppings for dessert. A full-fledged crêpe lunch or dinner usually includes three crêpes: two savory buckwheat ones with different fillings and a sweet wheat crêpe to finish off the meal.
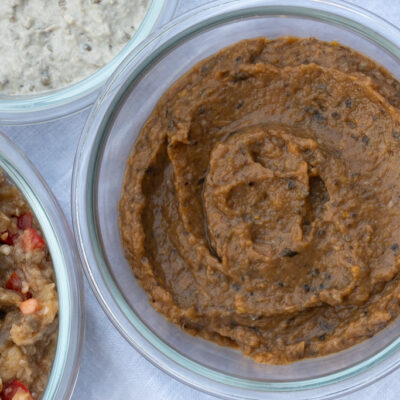
Although we are accustomed to wheat crêpes, buckwheat crêpes definitely deserve some attention. First of all, they are made exclusively of buckwheat flour, water, sea salt and optionally, a touch of honey. The batter requires a unique cooking technique (like in this recipe) to achieve the right texture.
Second, the fillings in Breton galettes are a real gastronomic delight. Often, there are more fillings than the galette itself, turning it into a delicious wrap for a wholesome meal packed with proteins, minerals and vitamins.
The classic full filling includes ham, mushrooms, cheese and egg yolk. But, you can create any combination you like, from a simple crêpe with just a bit of butter to more elaborate mixes featuring seafood, mushrooms, cheese, sausages, and ham. For instance, in the photo, you can see my choice: a buckwheat galette filled with scallops, mushrooms, ham, and egg yolk. These crêpes are typically accompanied by a side of green salad. It’s perfect!
As soon as I got home, I looked for an authentic recipe and set to work. The key is to stick to the technique. This way, your batter will become elastic, resulting in crêpes that are golden brown, delicious and perfectly chewy.
Breton buckwheat crêpes are usually cooked on one side only, with the most browned side serving as the front. To make them, pour the batter into the center of the pan and spread it in a thin layer on the surface of the crêpe pan or frying pan with a special stick—a crêpe spreader (at home, I use a spatula). The batter for these crêpes is thicker and stiffer than regular crêpe batter, so spreading it in a thin layer by tilting the pan won’t work—you need that crêpe spreader. After spreading the batter, you add your filling right away so everything heats up nicely. Before serving, you neatly tuck in the edges of the crêpe to create that classic square shape.
Bon Appétit!
Today's visits: 0.
Steps
|
1
Done
|
Make the batter at least 24 to 48 hours before cooking. It's the most convenient option and gets great results. |
|
2
Done
|
Take the batter out of the fridge about an hour before cooking and let it warm up to room temperature. Then add the rest of the water (250 ml) and stir it with a whisk until it becomes a smooth and thick liquid batter. The consistency will be thicker than the usual crêpe batter. |
|
3
Done
|
Preheat a large crêpe pan (I usually set my stove to 6 or 7 out of 10) and grease it with ghee. Pour a ladle of batter into the center of the pan and quickly spread it evenly using a crêpe spreader. Add your filling on top of the crêpe and place the egg yolk (without the white) in the center. Once the crêpe is cooked, fold the edges and serve. |