


Ingredients
-
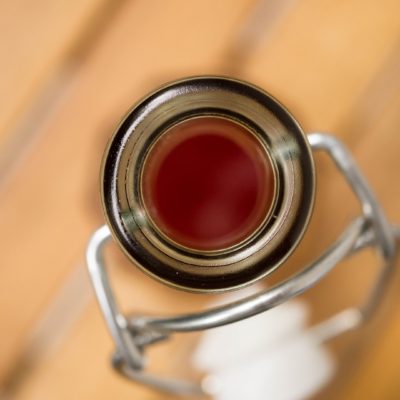
1 l cream (with 36-44% fat content)
-
1 package of lactic acid bacteria, or 2 tbsp sour cream
Directions

Please meet – butter. Ancient food produced in different forms in all countries and civilizations. Butter is made from cream and can be either sweet cream or cultured. The former is made from fresh cream, and the latter from cultured one.
Store-bought butter is usually sweet sour, but the first ever butter was a cultured one. To produce butter people first had to skim cream from the top of milk, which might take a few days, and during that period cream could get sour.
The delight of cultured butter lies in its soft flavor and slightly sour taste, which makes it perfect for spreading on toasts. It may be prepared with spices and herbs to compliment meat or fish dishes or various kinds of snacks.
Today I am going to share with you my experience of making cultured butter at home – it is very easy and quick.
But first I am explaining the logic of making such butter here.
Today's visits: 1.
Steps
|
1
Done
|
Pour the cream in a glass or ceramic container and add the lactic bacteria according to the instructions on the package. Or add sour cream, stir and let stand at room temperature until cultured. I added the bacteria, stirred and let stand at room temperature overnight. Depending on the inside temperature the process of culturing may require more or less time. Taste to check for doneness. The cream should become thick as sour cream, have a nice flavor and a slightly sour taste. |
|
2
Done
|
Refrigerate the cultured cream for 8 hours. Cold cream is best for making butter as part of fats will get solidified. |
|
3
Done
|
Whip the chilled cream on medium speed for about 5 min. The cream will become fluffy at first, but then it will separate into a white semi-transparent liquid - buttermilk, and a yellowish solid mass - butter. When you reach this point, turn off the mixer ant let stand for 5 min. Don’t mix for too long as buttermilk will get into butter again.
|
|
4
Done
|
Now strain the buttermilk through a cheesecloth. Don’t discard the buttermilk as it may be useful in bakery, in making fruit juices, preservatives and various kinds of drinks. |
|
5
Done
|
It's time to wash the butter to ensure that all of the buttermilk is out as leaving buttermilk in the butter will cause the butter to spoil quickly. Place the butter into a bowl of cold water and even ice and press out any remaining buttermilk with a spoon. You'll need to do this several times to get clear water. Just mash for awhile, pour off the water, add more clean water, mash again, pour off the water, etc. |
|
6
Done
|
Form a ball, remove from water, pat dry with paper towels and place in a butter mold. Refrigerate to set. How to keep: Keep in the fridge or freezer as regular butter. Since it gets spoiled sooner that store-bough one, I recommend keep it in the freezer. |